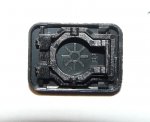
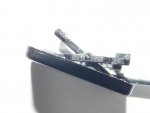
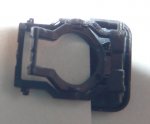
Somehow (it doesn't get hammered or even used very much) the F10 keycap on this UltaNote 15.6" has come loose.
I expected that the key caps could just be pulled off and replaced, if only for cleaning, but when I tried gently to remove the keycap with the intention of refitting, it seemed not to come away easily. Instead I just tried to reseat the cap ,but that has only partially worked, and the key does not work reliably. It may be that I just need to use a little more force either to reseat or to remove and replace.
However I don't want to try that unless I am quite sure that is the correct approach. Otherwise I might damage the key/keyboard.
I expected this to be in an FAQ or even the manual, but I haven't found anything. Can anyone point me at some documentation or advise?
It must surely be routine to remove and replace keycaps: it is a miracle that I haven't had a biscuit crumb or the like under a key yet, but I would expect just to remove the cap, vacuum out the debris and replace the cap. But for now it is my F10 key...
TIA


